How to Check Brake Discs: Wear, Thickness and Wobble
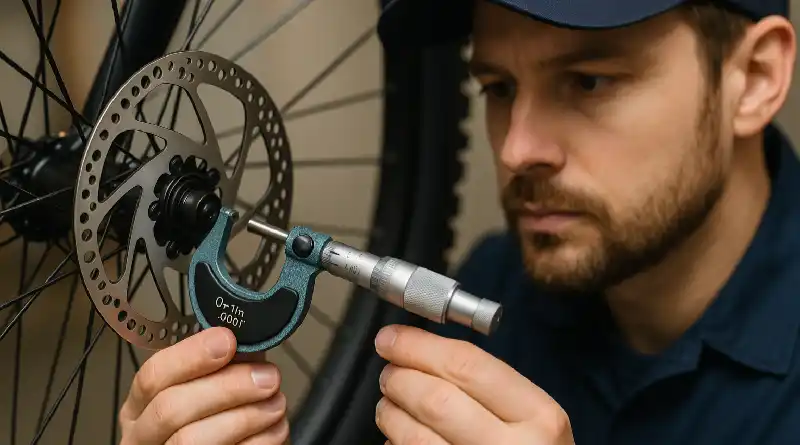
Checking brake discs is an essential part of bike and e-bike maintenance. It is important to check brake discs because, unlike brake pads, which show clearly visible wear, wear on brake discs is harder to spot. Still, it is worth paying attention to this regularly. This article explains what to look for and gives handy workshop tips.
Why You Should Check Brake Discs
Steel brake discs usually last a long time. Even so, they wear over time. Regular checks are essential, because you cannot always see this wear with the naked eye, so you need to measure it. With heavy use, or on bikes that carry more weight, such as e-bikes, wear can happen faster.
Find the Original Thickness
A good check starts with knowing the original thickness of the brake disc. It is usually marked on the disc itself. Look on the edge of the disc for a small number, often in millimetres. Is a wear limit given too? Then you know exactly when to replace the disc.
Some manufacturers, such as Magura and Tektro/TRP, use different thicknesses:
- Magura: original thickness 2.0 mm, wear limit 1.8 mm
- Tektro/TRP: original thickness 2.3 mm, wear limit 2.1 mm
It is essential to measure when you replace them, because not every disc fits every bike.
Measure Wear With a Thickness Gauge
The most reliable way to measure wear is with a special thickness gauge. Place it in the middle of the braking surface. Make sure you do not measure the outer edge, because it can have a raised wear lip.
Tip: Preferably do not use a calliper unless you are sure of your measuring point. With uneven wear, a calliper can give a misleading result.
For most brake systems, this applies:
- Original thickness: 1.8 mm
- Wear limit: 1.6 mm (0.2 mm of wear is acceptable)
Is the disc thinner than 1.6 mm? Then you must replace it, however well the bike still brakes.
Use the Brake Pads as a Visual Aid
The mark the brake pad leaves on the disc tells you a lot. Do you see that the pad does not make full contact? Then the disc may be worn unevenly. In that case, replacing it is better than adjusting it, after your check.
Mind the Fitting and Any Magnets
You do not buy new discs on thickness alone. Also look at:
- The diameter (for example 160 mm, 180 mm, etc.)
- The mount (centerlock, 6-bolt)
- Whether the disc has a magnet for e-bike speed sensors
Some brake discs need a built-in magnet for the speed registration to work.
Testing for Wobble With a Dial Gauge
Besides wear, warping is also a problem. Testing for wobble is important, because a disc that is bent or wobbles can cause noise and friction.
Use a dial gauge (preferably mounted on a truing stand) to measure the sideways deflection of the disc. The maximum allowed wobble is 0.3 mm. Are you above that? Then replacing the disc is the only sensible choice.
Pro tip: For an accurate measurement, you can put the brake disc on a loose front hub. That also makes it easy to measure the side facing the spokes.
Is Truing a Brake Disc Worthwhile?
Many truing tools give the impression that a disc is easy to correct. In practice, though, it seems difficult once you look at it closely. The steel is hard and barely bends. A slight correction is sometimes possible, but you only get optimal performance with a perfectly straight disc.
Summary: What to Look For When You Check Brake Discs
- Check the original thickness and wear limit (often printed on the disc)
- Measure the thickness with a thickness gauge, ideally in the middle of the braking surface
- Replace at 0.2 mm of wear, or when you reach the manufacturer’s limit
- Look at disc thickness, diameter, mount and any magnets when replacing
- Check wobble with a dial gauge, a maximum deviation of 0.3 mm is allowed
- Replace warped discs rather than trying to true them